Why Knowing AC Troubleshooting Tips Before Calling a Pro Can Save You Real Money in Des Moines
The most important ac troubleshooting tips before calling a pro are simple checks most homeowners can complete in under 30 minutes: verify your thermostat is set to “Cool” and the temperature is at least 3-5 degrees below room temp, replace a clogged air filter, reset a tripped circuit breaker, and check that your outdoor unit has at least 2 feet of clear space around it.
Here is a quick-reference list of the most common DIY checks to try first:
- Check the thermostat – Confirm it is set to “Cool” mode with fresh batteries and a temperature below the current room reading
- Inspect the air filter – Hold it up to a light source; if no light passes through, replace it immediately
- Reset the circuit breaker – Flip it fully OFF, wait 30 seconds, then flip it back ON
- Clear the outdoor condenser unit – Remove any leaves, grass, or debris and ensure 2 feet of clearance on all sides
- Check the condensate drain line – Look for standing water in the drain pan, which can trigger an automatic safety shutoff
- Look for ice on the coils – If you see frost or ice buildup on the indoor unit, turn the AC off and run the fan only to thaw it
- Confirm all vents are open – Make sure furniture, rugs, or curtains are not blocking any supply or return registers
It is May 2026, and Des Moines homeowners are heading into another humid Iowa summer. That means air conditioners across Ankeny, Waukee, and West Des Moines are about to get a serious workout. When your AC suddenly stops cooling, the instinct is to reach for the phone and call a technician right away. But here is the truth: a large number of service calls trace back to simple issues like a tripped breaker, a clogged filter, or a thermostat that got bumped into the wrong mode — problems you can often resolve yourself in the time it takes to wait on hold.
Ignoring even minor AC issues can quickly turn into bigger, more expensive problems. A dirty filter, for example, does not just reduce airflow — it can cause the evaporator coil to freeze solid, which puts serious strain on your compressor. According to the Department of Energy, ducted systems can lose around 30% of their energy through leaks and poor airflow, much of it tied to basic maintenance issues that go unchecked.
This guide walks you through the most practical AC troubleshooting steps to try before picking up the phone — and helps you recognize the warning signs that mean it really is time to call in a professional.

Essential AC Troubleshooting Tips Before Calling a Pro
When the mercury rises in Central Iowa, your cooling system becomes the most important appliance in the house. Before you assume the worst, we recommend taking a “detective” approach. Most modern air conditioners are equipped with safety sensors and switches that shut the system down to prevent catastrophic damage. Often, why your AC is not cooling properly is actually a safety feature doing its job.
One of the first things to understand is the system reset. Most HVAC systems have a built-in delay of 3 to 5 minutes between thermostat adjustments and the moment the compressor kicks on. This protects the unit from “short cycling,” which can burn out the motor. If you just adjusted your settings, give it five minutes before you panic. If it still won’t budge, it’s time to dig deeper.
Thermostat Settings: AC Troubleshooting Tips Before Calling a Pro
It sounds silly, but you would be surprised how often a service call ends with the technician simply flipping a switch. If you are wondering what to do when AC won’t turn on, start at the brain of the system: the thermostat.
- Check the Batteries: If your display is blank or fading, your thermostat can’t tell the AC to start. Replace the batteries annually, even if they seem fine.
- Verify the Mode: Ensure the switch is set to “Cool.” Sometimes during spring cleaning, it gets bumped to “Heat” or “Off.”
- The Temperature Gap: Set the thermostat at least 5 degrees below the current room temperature. If it’s 75°F inside and you set it to 74°F, the system might not register the need to kick on immediately.
- Fan Settings: Keep the fan on “Auto” rather than “On.” When the fan is “On,” it blows air constantly, even when the AC isn’t cooling, which can lead to AC making your home humid by blowing moisture back off the coils.
- Clean the Sensor: Gently wipe away dust from the thermostat’s internal sensor with a soft brush or canned air. Dust buildup can cause false temperature readings.

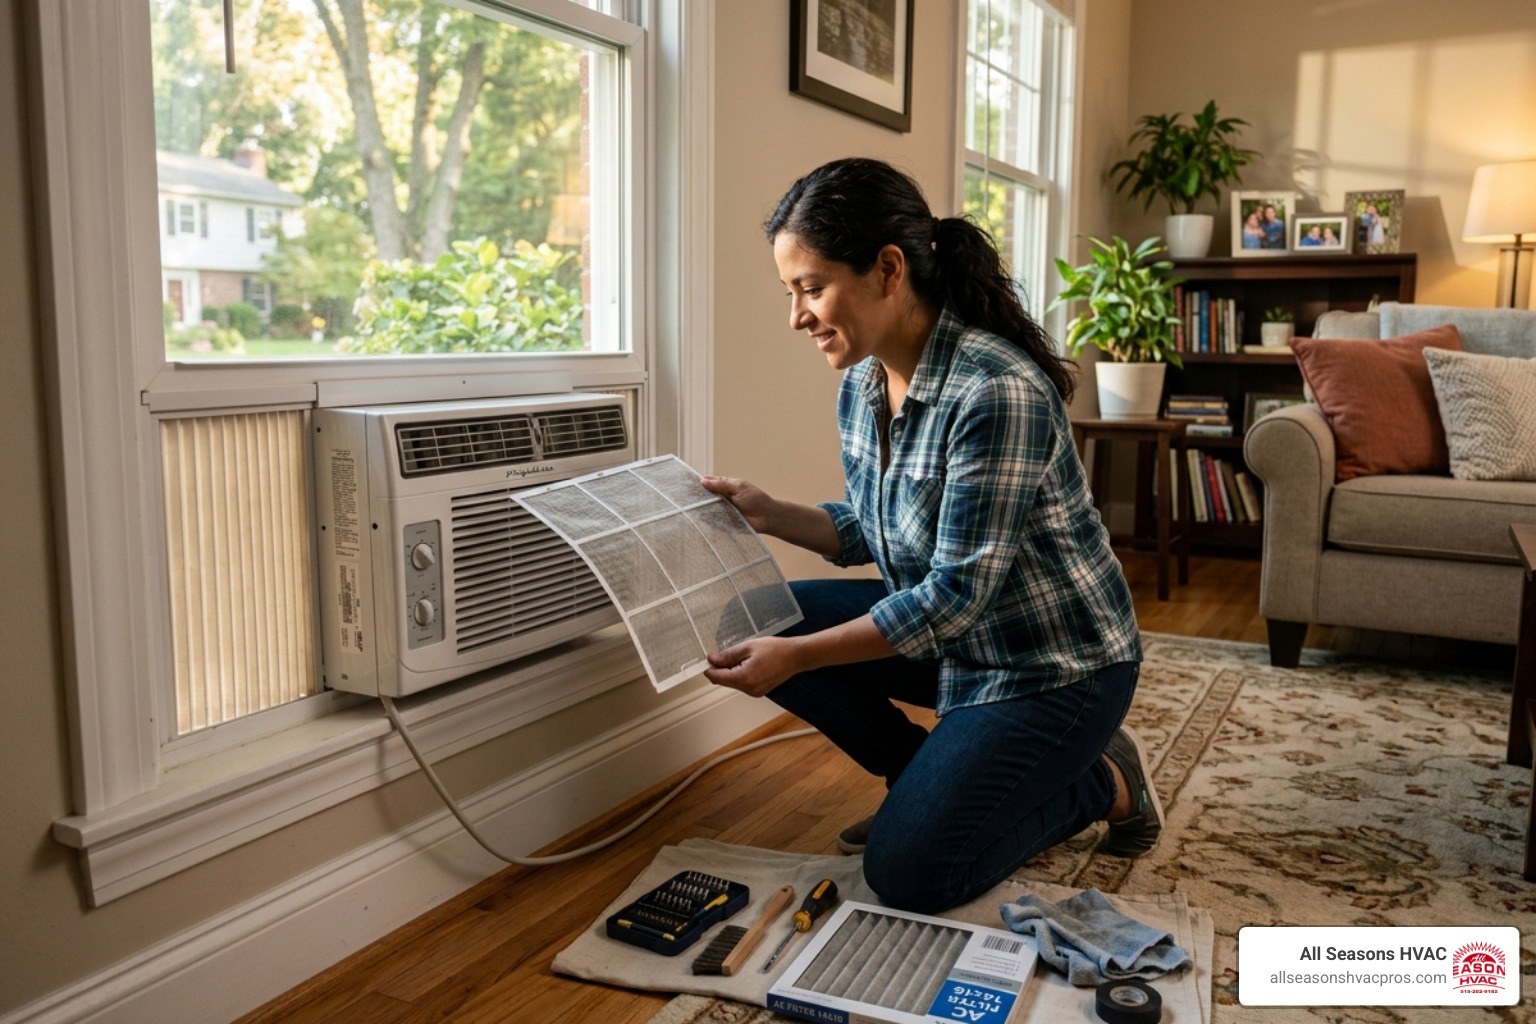
Airflow and Filters: AC Troubleshooting Tips Before Calling a Pro
A dirty air filter is the single most common cause of HVAC issues. When air can’t pass through the filter, the system has to work twice as hard, leading to overheating and even frozen coils. Solving poor AC airflow problems often begins and ends with a $15 piece of pleated fabric.
The Light Test: Not sure if your filter is dirty? Hold it up to a light bulb. If you can’t see light passing through the fibers, it’s clogged with Iowa dust and pet dander.
- MERV Ratings: Be careful with “high-efficiency” filters. While they catch more particles, they also restrict airflow more. If your system isn’t designed for a high MERV rating, it can actually cause the motor to fail.
- Register Obstructions: Walk through every room in your house. Are there rugs covering floor vents? Is there a sofa pushed up against a return air grille? We’ve seen cases where a single heavy curtain draped over a vent caused an entire room to stay warm.
- Common Airflow Blockages:
- Pet hair accumulation on return grilles.
- Closed dampers in the ductwork.
- Dust-clogged evaporator coils (requires a pro to clean).
- Kinked flexible ducts in the attic or crawlspace.
Power and Drainage: Simple Checks for Central Iowa Homeowners
If the system is completely silent—no humming from the outside unit and no air moving inside—you likely have a power or a safety shut-off issue. In Central Iowa, where summer storms can cause power surges, it is common for a breaker to trip.
| Issue | Symptom | DIY Fix |
|---|---|---|
| Tripped Breaker | No power to indoor or outdoor unit | Reset breaker in the main panel |
| Clogged Drain | Water in pan; system won’t turn on | Clear the condensate line |
| Safety Float Switch | AC cuts off suddenly during high humidity | Clear standing water in the drain pan |
| Blown Fuse | Outdoor unit is silent | Check the outdoor disconnect box |
Resetting Your Electrical Supply
Your AC runs on a lot of juice, which makes it prone to common AC electrical problems. Most systems have two separate power sources: one for the indoor blower and one for the outdoor compressor.
- The Main Panel: Locate your circuit breaker box. Look for a switch labeled “AC” or “HVAC.” If the switch is in the “middle position,” it has tripped. Flip it all the way to “Off,” wait 30 seconds, and then flip it back to “On.” Warning: If it trips again immediately, do not keep resetting it. This indicates a serious electrical fault that needs a professional.
- The Indoor Switch: Most air handlers in Des Moines basements or attics have a switch that looks exactly like a light switch. It is often accidentally flipped off by someone looking for a light or moving boxes.
- The Outdoor Disconnect: Next to your outdoor unit is a small metal box. Inside, there is a “pull-out” fuse block or a switch. Ensure it is firmly seated and hasn’t been flipped off during yard work.
Clearing the Condensate Drain Line
Did you know that water leaks account for almost 90% of all central air service calls? As your AC cools the air, it also removes moisture. That water drips into a pan and flows out through a PVC pipe. Over time, algae and “slime” can grow in that pipe, causing a clog.
When the line clogs, the water backs up into the drain pan. Modern systems have a safety float switch that detects this water and kills the power to the AC to prevent a flood in your home. This is a common reason why your AC is leaking water.
DIY Fix: Use a wet/dry vacuum on the end of the drain line (usually located outside near the condenser) to suck out the clog. Once clear, you can pour a cup of white vinegar down the drain line from the indoor unit to kill any remaining algae.
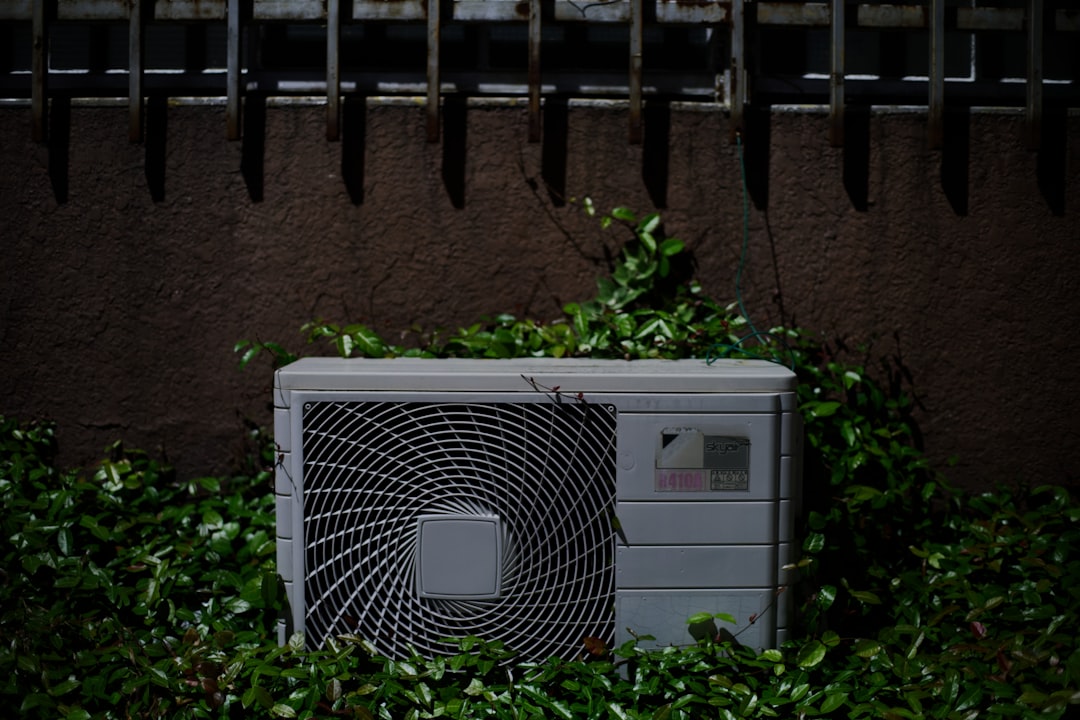
Managing the Outdoor Condenser and Frozen Coils
The outdoor portion of your AC is called the condenser. Its job is to release the heat collected from inside your home. If it can’t “breathe,” it can’t cool.
Thawing a Frozen Evaporator Coil
It might seem impossible for a machine to freeze on a 90-degree day in Indianola, but it happens all the time. If you notice frost on the copper lines or ice on the indoor unit, your evaporator coil is frozen. This is usually caused by restricted airflow (dirty filter) or low refrigerant.
How to safely thaw it:
- Turn the thermostat to “Off.”
- Turn the “Fan” setting to “On.”
- Wait 2 to 4 hours for the ice to melt completely.
- Check and replace your air filter.
Never try to scrape the ice off, as you could damage the delicate aluminum fins. If you want to know how to fix a frozen AC evaporator coil permanently, you must address the underlying airflow or refrigerant issue.
Cleaning the Outdoor Unit
Your outdoor unit is a magnet for cottonwood fluff, grass clippings, and leaves. When these coat the aluminum fins, they create a “blanket” that traps heat inside.
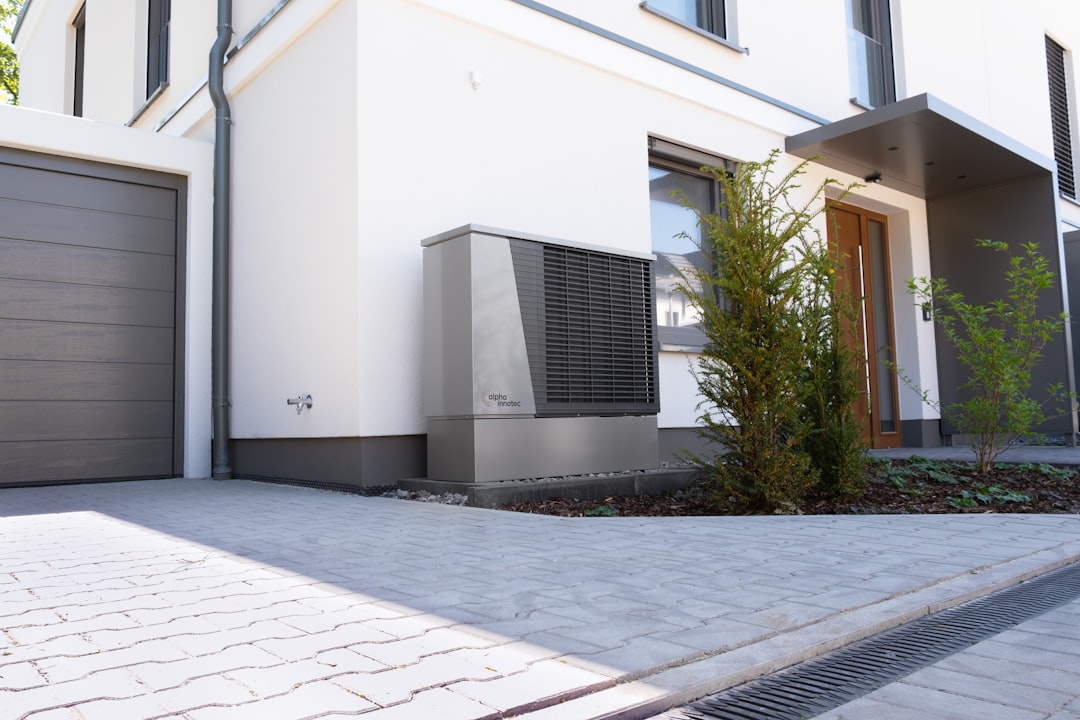
- Maintain Clearance: Ensure there is at least 2 feet of clear space around the unit. Trim back any bushes or tall grass.
- Gentle Cleaning: After turning off the power, use a garden hose to gently rinse the coils from the top down. Never use a pressure washer, as the high-pressure stream will flatten the fins and permanently restrict airflow.
- Check the Level: If the concrete pad under your unit has shifted and the unit is tilting, it can cause the compressor to wear out prematurely or allow oil to settle where it shouldn’t.
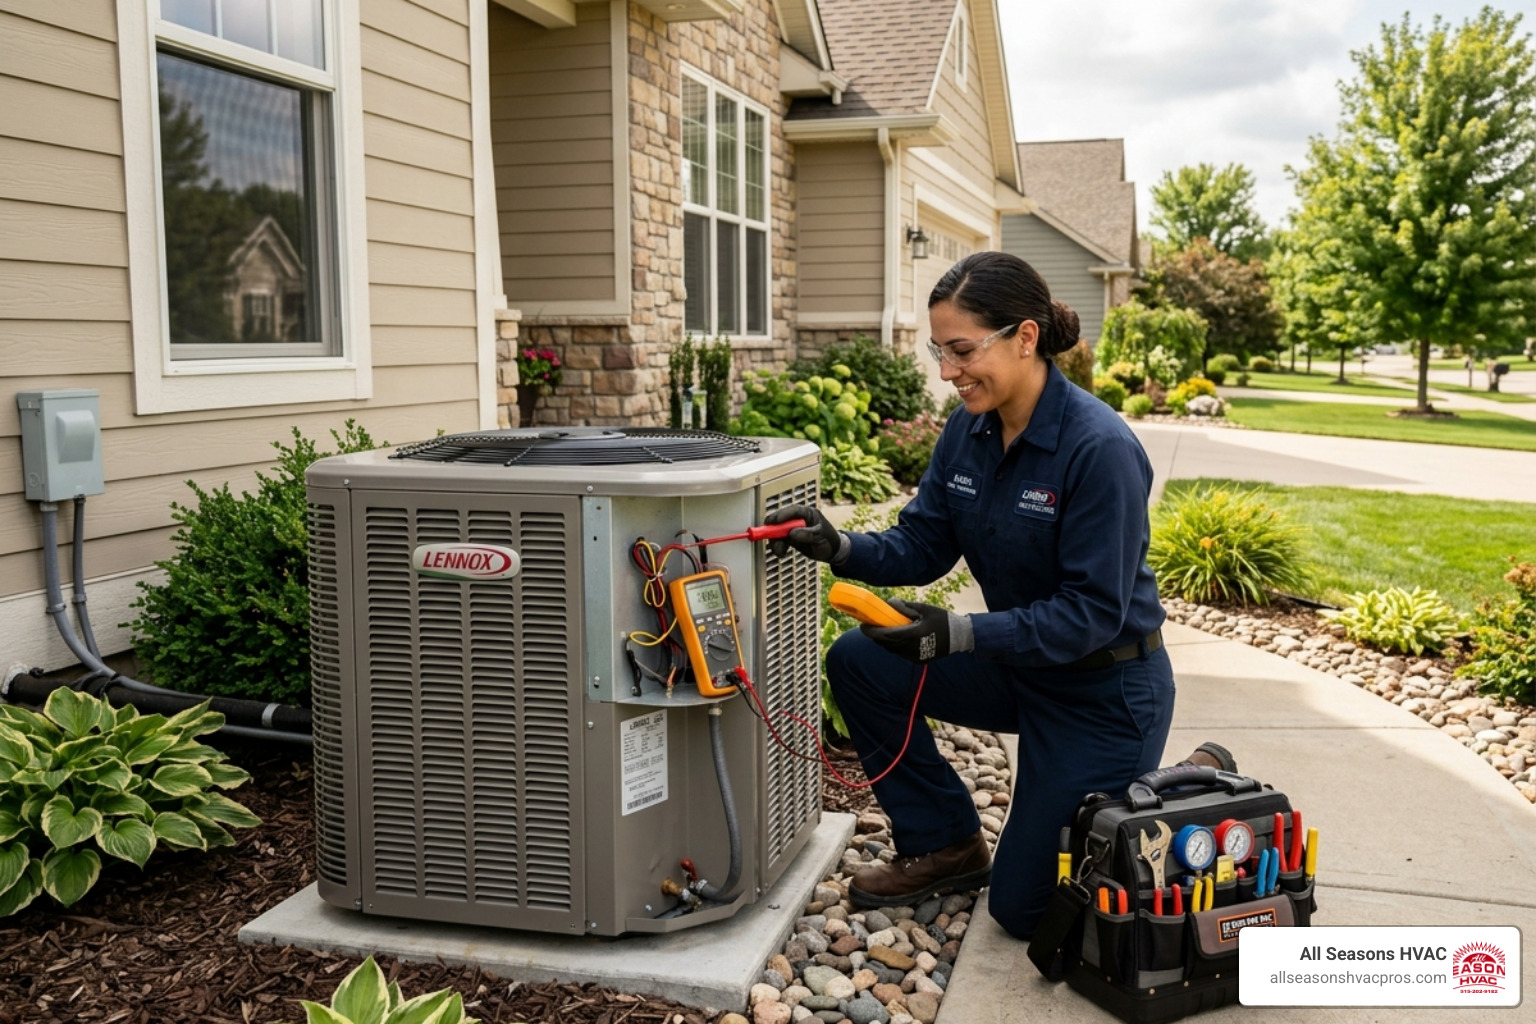
When to Stop Troubleshooting and Call a Technician
While we love a good DIY victory, some things are best left to the experts. AC systems involve high-voltage electricity and pressurized refrigerant—both of which can be dangerous if handled incorrectly. If you’ve checked the filter, the breaker, and the thermostat and you’re still sweating, it’s time to call in the cavalry.
Identifying Mechanical and Refrigerant Failures
There are several “red flag” symptoms that indicate a professional repair is mandatory:
- Strange Noises: If you hear metal-on-metal grinding, loud banging, or persistent squealing, turn the unit off immediately. These are often signs of a failing motor or a loose fan blade. You can learn more about what these sounds mean in our guide on is your AC making strange noises.
- Refrigerant Leaks: If you hear a hissing sound or see oily residue on the copper lines, you likely have a leak. Since refrigerant handling requires EPA certification, this is not a DIY job. Watch for AC refrigerant leak signs like the system running constantly without cooling.
- Short Cycling: If your AC turns on and off every few minutes, it’s a sign of AC short cycling causes like a failing capacitor or an oversized unit.
- Burning Smells: An electrical or “ozone” smell indicates a wire is melting or a motor is burning out. Shut off the power at the breaker immediately.
- Age-Based Failure: The average HVAC lifespan is about 15 to 20 years. However, frequent breakdowns usually start showing up by year 12. If your system is older and requires constant repairs, it may be time to look for signs you need AC replacement.
Frequently Asked Questions about AC Troubleshooting
Why is my AC running but not blowing cold air?
This is often caused by a dirty air filter or a clogged outdoor condenser. If the air is moving but isn’t cold, the heat exchange process is being blocked. It could also be a sign of low refrigerant or a failing compressor. Regular maintenance and fixing AC odors maintenance tips can help keep the internal components clean for better cooling.
How do I perform a system reset on my HVAC?
To perform a full hard reset:
- Turn your AC off at the thermostat.
- Go to your electrical panel and flip the AC breaker to “Off.”
- Wait at least 5 to 10 minutes. This allows the internal circuit boards to clear any error codes.
- Flip the breaker back to “On.”
- Set your thermostat to “Cool” and wait another 5 minutes for the startup delay.
How often should I replace my air filter in Des Moines?
In Central Iowa, we recommend checking your filter every 30 days during the peak of summer. If you have pets, live near a gravel road, or have seasonal allergies, you should replace it monthly. At a minimum, a standard pleated filter should be changed every 90 days.
Conclusion
At All Seasons HVAC LLC, we believe that an informed homeowner is a happy homeowner. Taking a few minutes to walk through these ac troubleshooting tips before calling a pro can save you the frustration of a service call for a simple fix. Whether you are in Des Moines, Ankeny, Waukee, or Norwalk, keeping your system clean and your filters fresh is the best way to ensure year-round comfort.
If your troubleshooting leads to a dead end, or if you encounter electrical issues or refrigerant leaks, don’t sweat it. Our team of experienced, professional technicians is ready to help with reliable repairs and quality workmanship. We also offer budget-friendly financing plans to make sure home comfort is affordable for every family in Central Iowa.
Don’t let a broken AC ruin your summer. If you’ve tried the basics and still need help, get more info about air conditioning services in Des Moines, IA and let us get your home back to the perfect temperature.